
Graduation DIY Inspiration Ideas: Creative Ways to Elevate Our Zazzle Printed Designs
Graduation DIY Inspiration Ideas: Elevate Your Invitations, Decor & Party Details
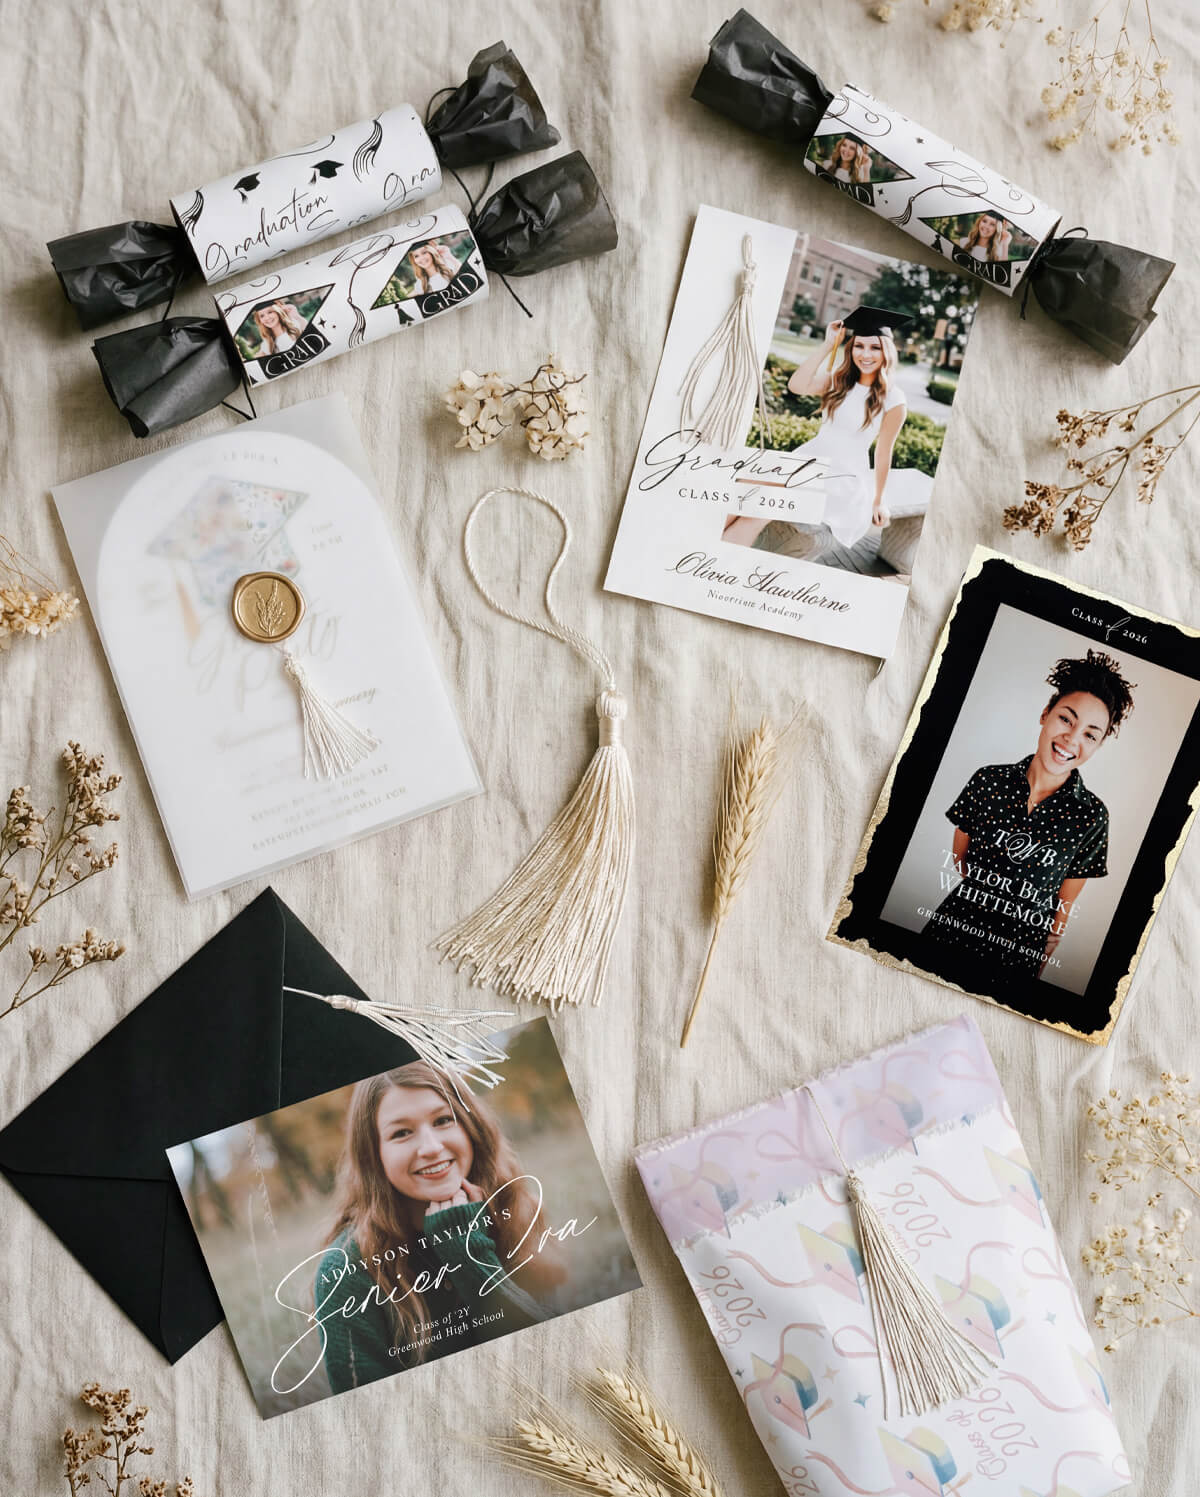
Graduation DIY Inspiration Ideas. The perfect way to transform your announcements, invitations, wrapping paper, and party details into something truly unforgettable. At our Moodthology Papery shop on Zazzle. We create all the designs, and Zazzle handles the printing and shipping for you. Making it easy to get high-quality, ready-to-use products. Whether you’re celebrating a high school or college milestone. Adding thoughtful, handmade touches to your printed designs can instantly elevate the entire experience. With beautifully printed products and a little creativity, you can create a polished, high-end look without the high-end price tag.
In this guide, we’re sharing graduation DIY inspiration ideas. Creative and easy ways to enhance your graduation announcements, invitations, wrapping paper, favors, & party details. Graduation DIY inspiration ideas using simple DIY techniques. These ideas are designed to impress your guests while keeping things personal, stylish, and fun.
We also have another blog that features our 2026 graduation announcements and grad party invitations for more inspiration.
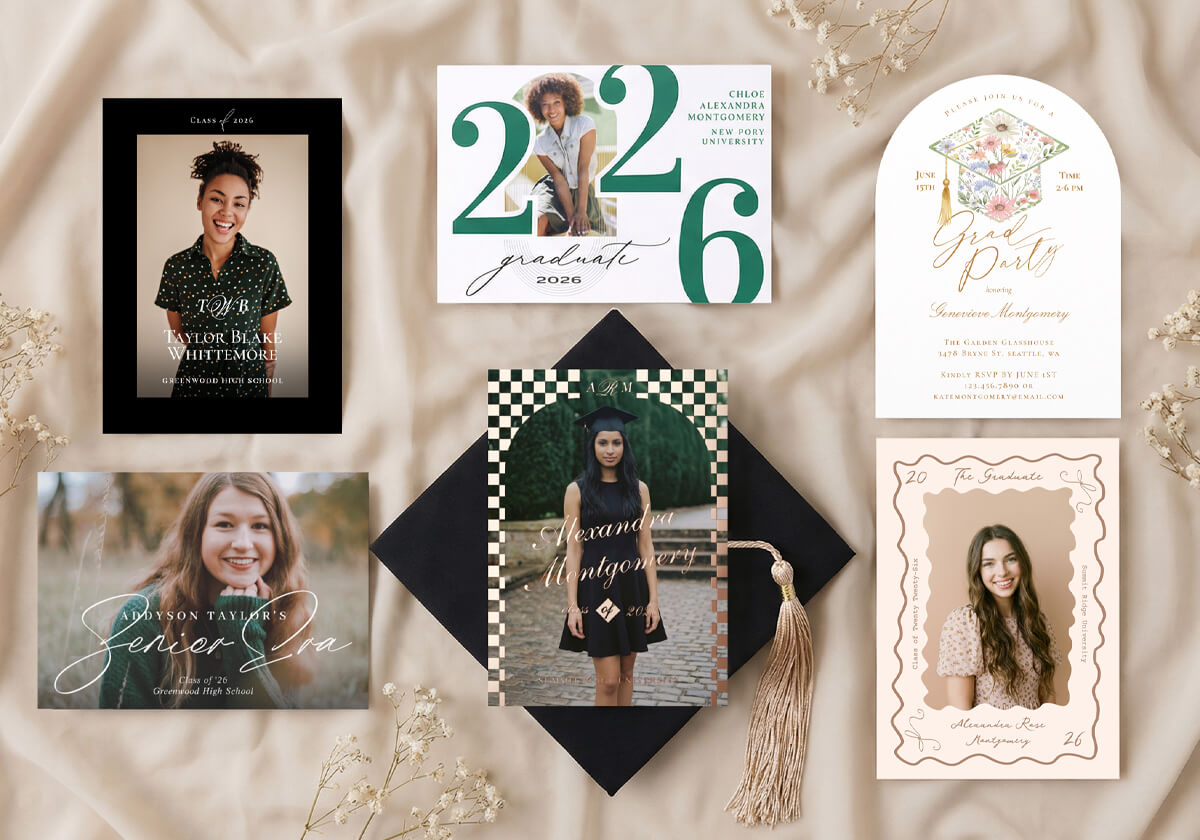
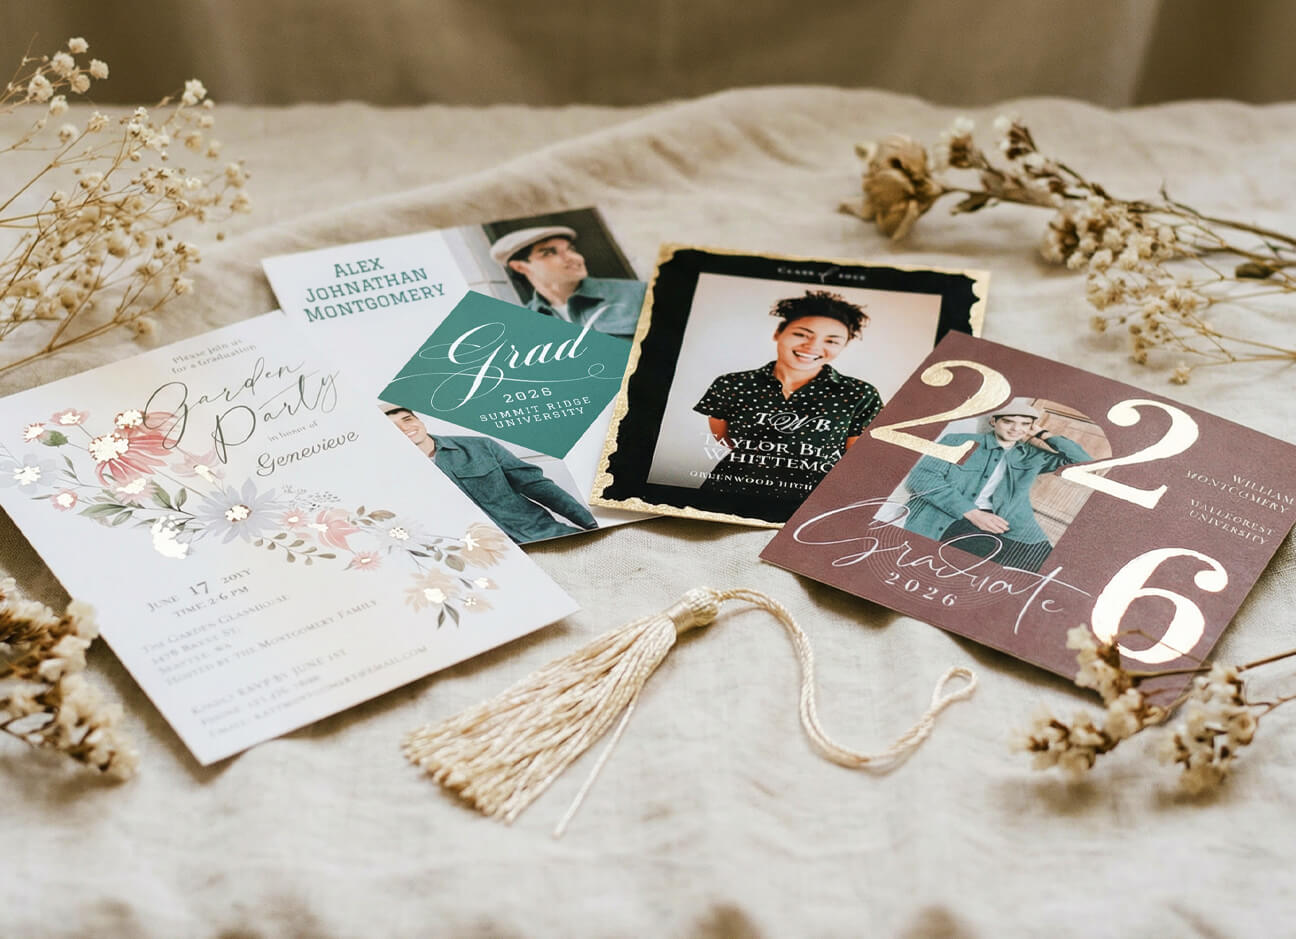
2026 Graduation Cards New 2026 Grad Announcements and Invitations
Celebrate your graduate with our 2026 graduation announcement cards and invitations from Moodthology Papery.
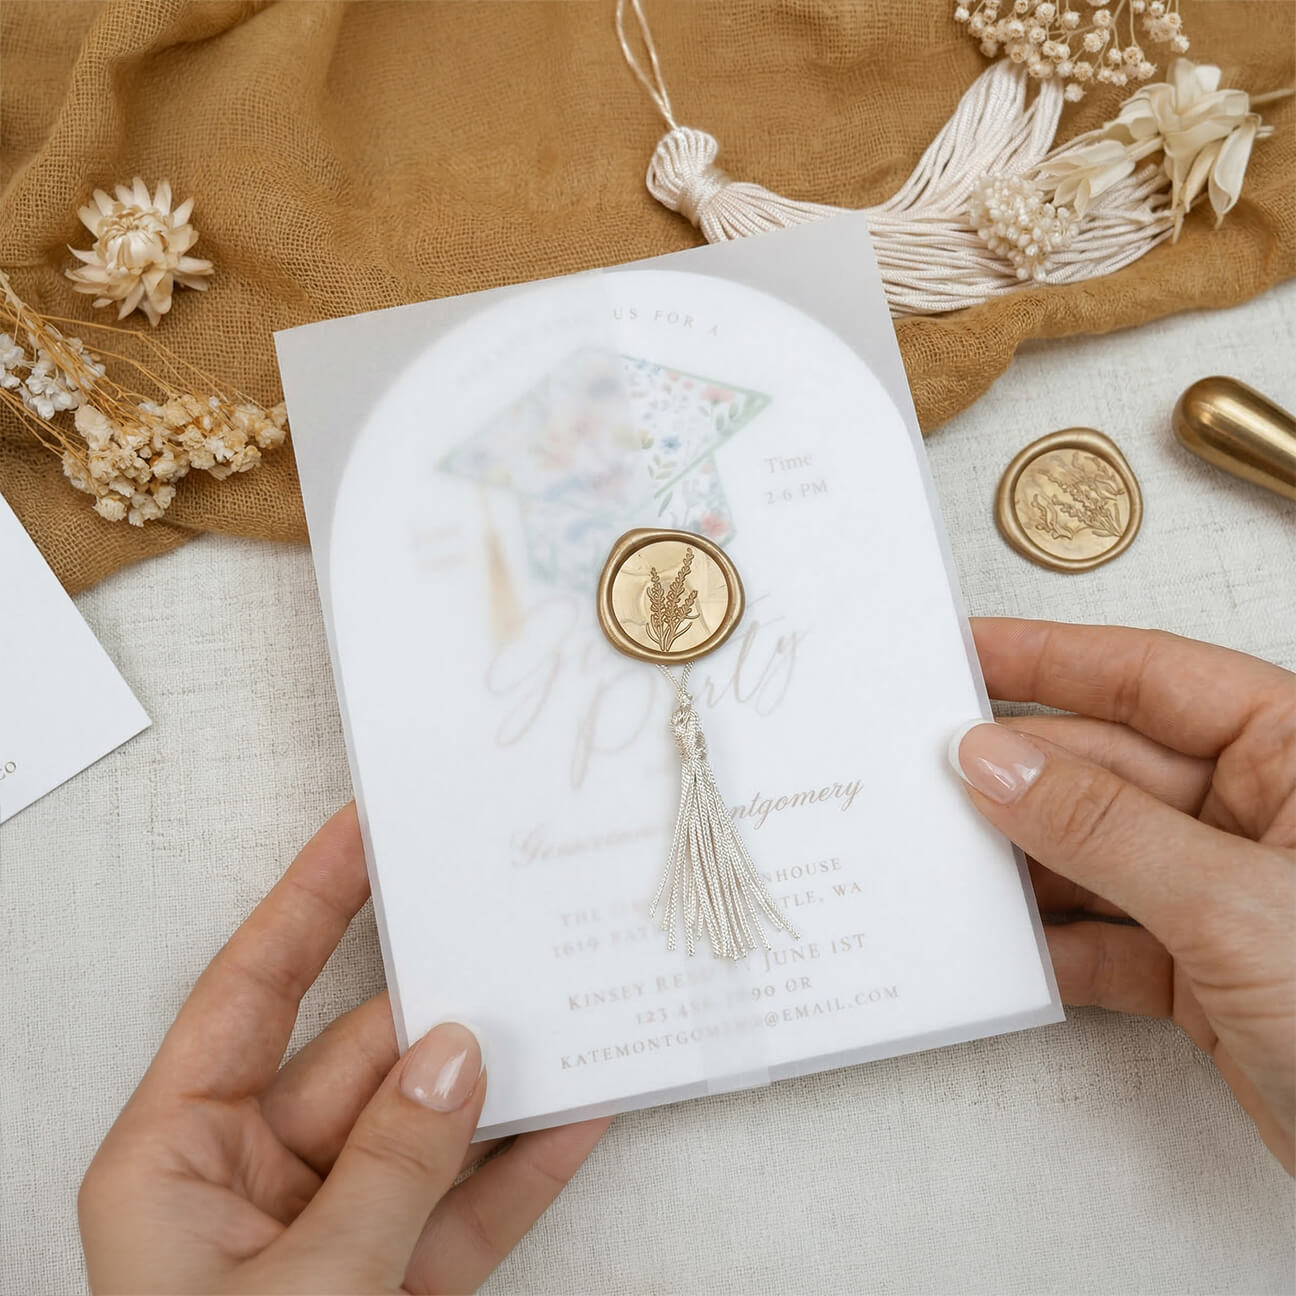
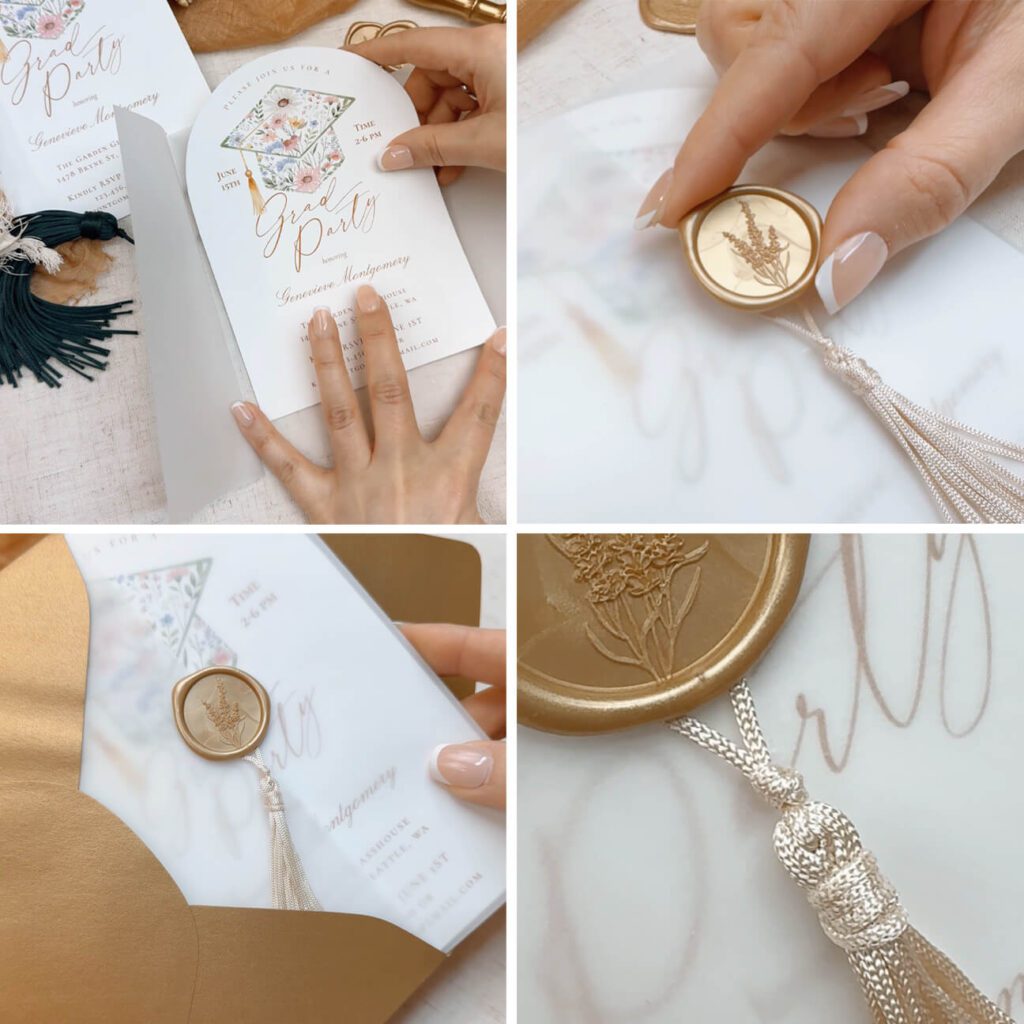
#1 Elegant Vellum Sleeves with Tassel & Wax Seal
How to create this look:
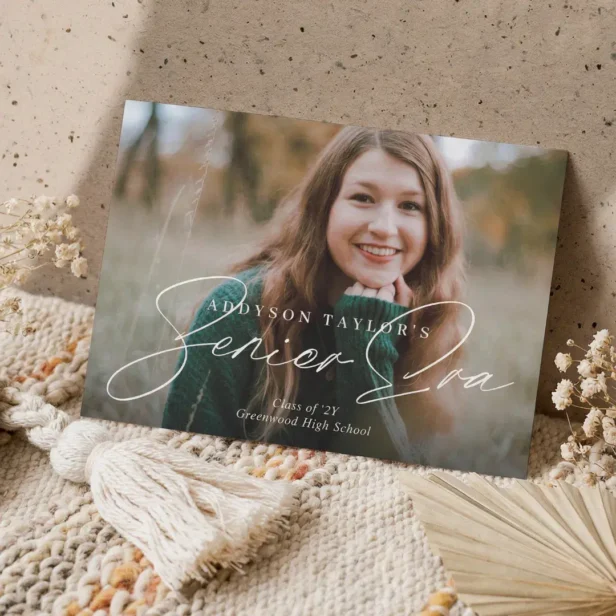
Graduation DIY Inspiration Ideas #1: One of the most elegant ways to present your graduation invitations or announcements is by layering them inside a soft vellum sleeve. This instantly adds a luxurious, semi-transparent finish that hints at the design beneath.
To take it a step further, seal the vellum sleeve with a small DIY tassel secured using a wax seal sticker. The tassel adds a graduation-inspired detail, while the wax seal creates a timeless, sophisticated presentation.
- Slide your invitation into a vellum sleeve
- Create or attach a small tassel
- Secure the tassel in place with a wax seal sticker
- Place inside an envelope for mailing or hand delivery
This method is perfect for creating a truly memorable first impression, making sure your guests feel special and excited from the very moment they open and experience their invitation
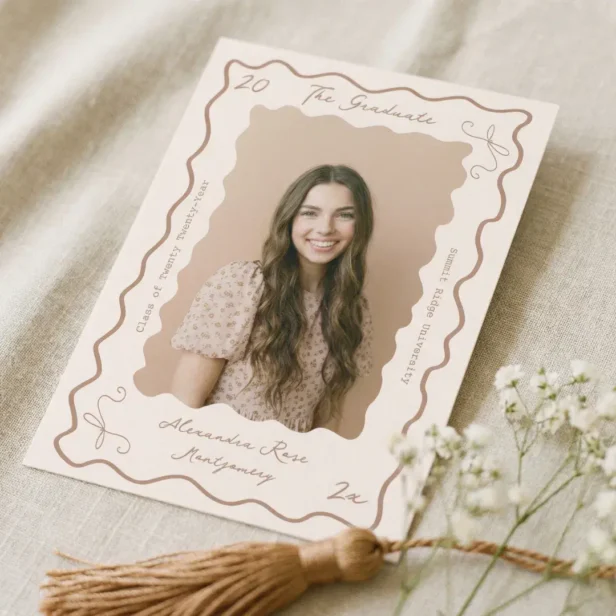
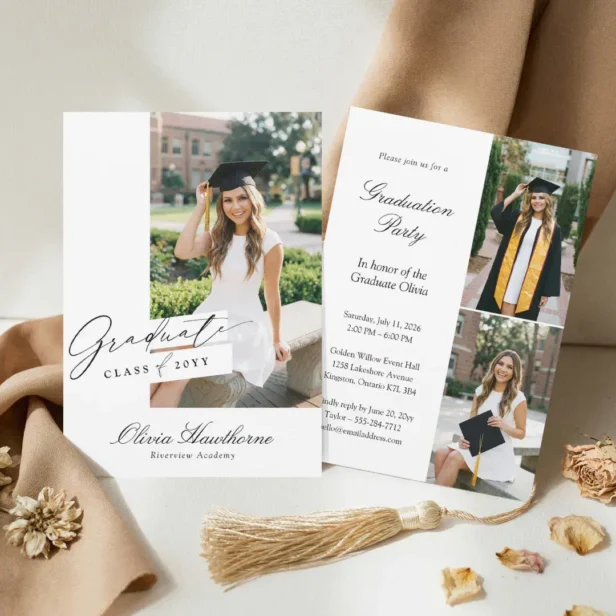
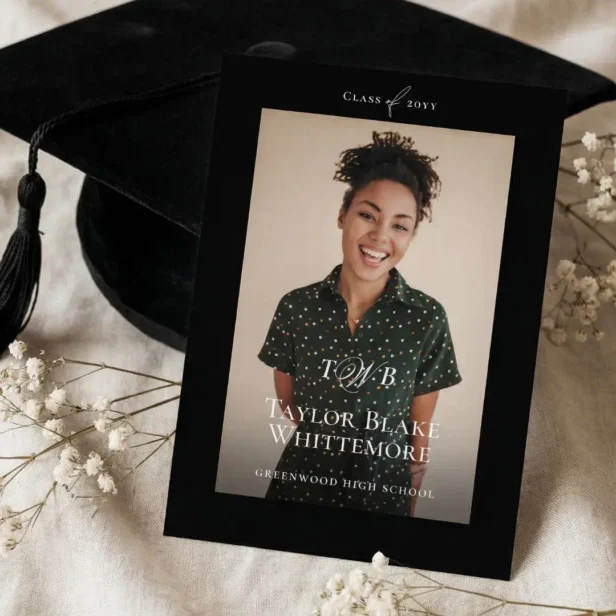
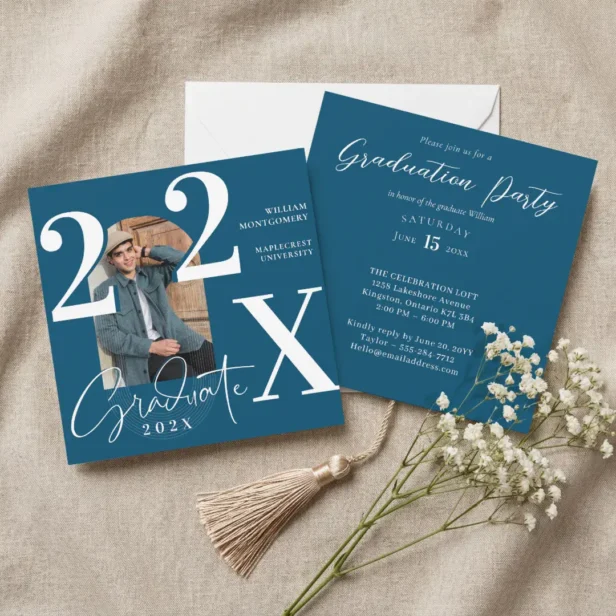
#2 Add A Simple Grad Tassel or Bow to your Card for a Personal Touch
If you prefer something minimal yet meaningful, adding a simple DIY tassel or a delicate bow is a beautiful way to personalize your invitations. A tassel instantly ties into the graduation theme, while a bow can soften the look and add a touch of charm or elegance, depending on the material you choose.
These small details make your invitations feel custom and thoughtfully designed.
1. Attach a tassel to the top corner of your invitation
2. Tie a thin satin or chiffon ribbon around the card
3. Match colors to your school or party theme
This method is perfect for creating a truly memorable first impression, making sure your guests feel special and excited from the very moment they open and experience their invitation


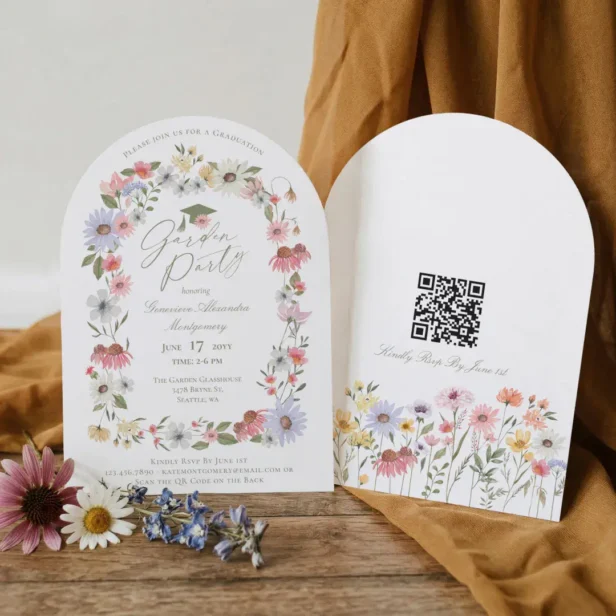
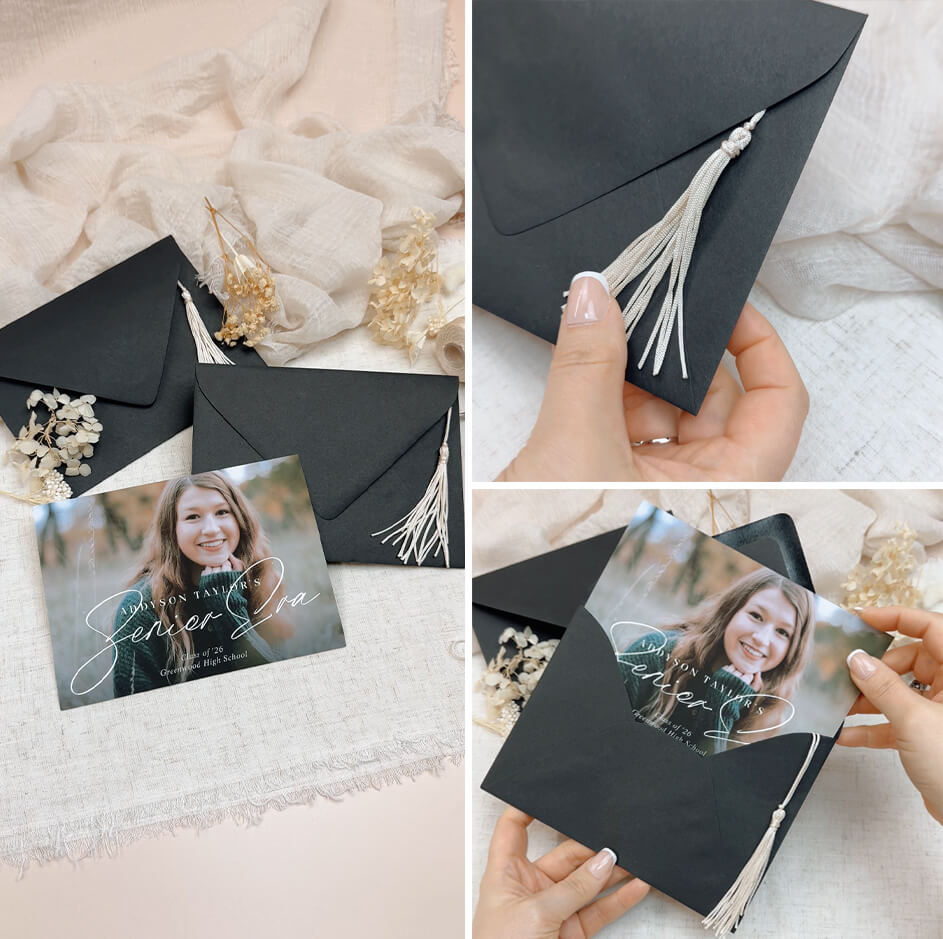
#3 Create Your Own DIY Envelope with AN Elegant Tassel Detail
For a creative and playful presentation, you can attach a tassel to the inside flap of your envelope. When the envelope is sealed, the tassel peeks out from underneath, resembling a graduation cap. This idea is especially fun and interactive, making it perfect for hand-delivered invitations. Important note: This style is not suitable for mailing, as it may be damaged during processing. It’s best reserved for local delivery to friends and family.

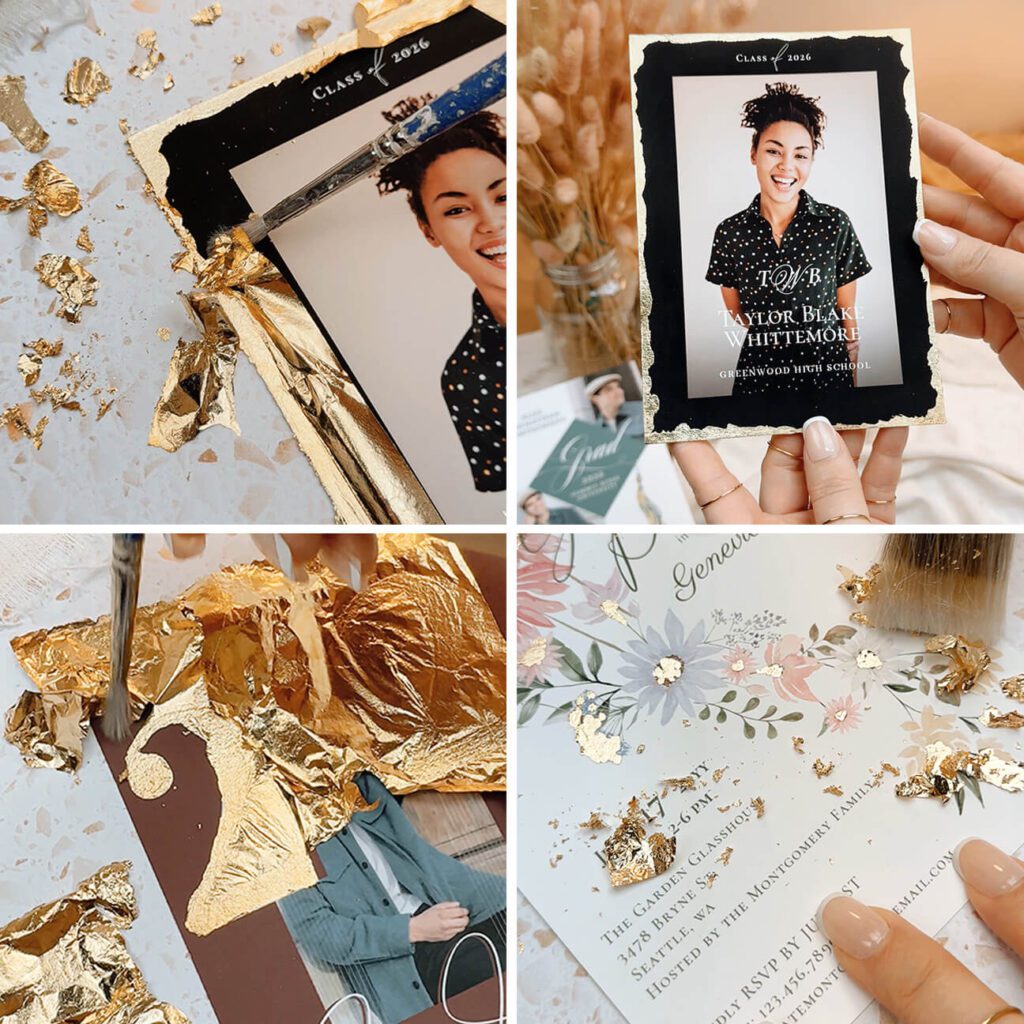
#4 DIY Gold Leaf Foil Your Cards for a Luxe Finish
If you love the look of real foil but want a budget-friendly alternative. Try adding your own gold leaf to your cards for a stunning option. This technique allows you to highlight specific areas of your design and create a custom, high-end finish. You can use gold, silver, or rose gold leaf depending on your style. This technique works beautifully for borders or accent details and can dramatically elevate your invitations and announcements.
Supplies needed:
– Brush for applying glue
– Adhesive glue or glue pen, we used Mont Marte Leafing glue for the large areas and a glue pen for the detail areas
– Gold leaf sheets for large area coverage & use gold leaf scraps for small areas (you can also use silver/rose gold) leaf sheets
– Clean, soft brush for removing excess foil
How to apply gold leaf:
1. Lightly apply glue to the areas where you want the foil
2. Allow the glue to become slightly tacky
3. Gently place the foil sheet over the glued area
4. Press lightly and let it adhere
5. Wait 24 hours to make sure the gold leaf is set
6. Use a clean brush to remove excess foil
 ++++
++++

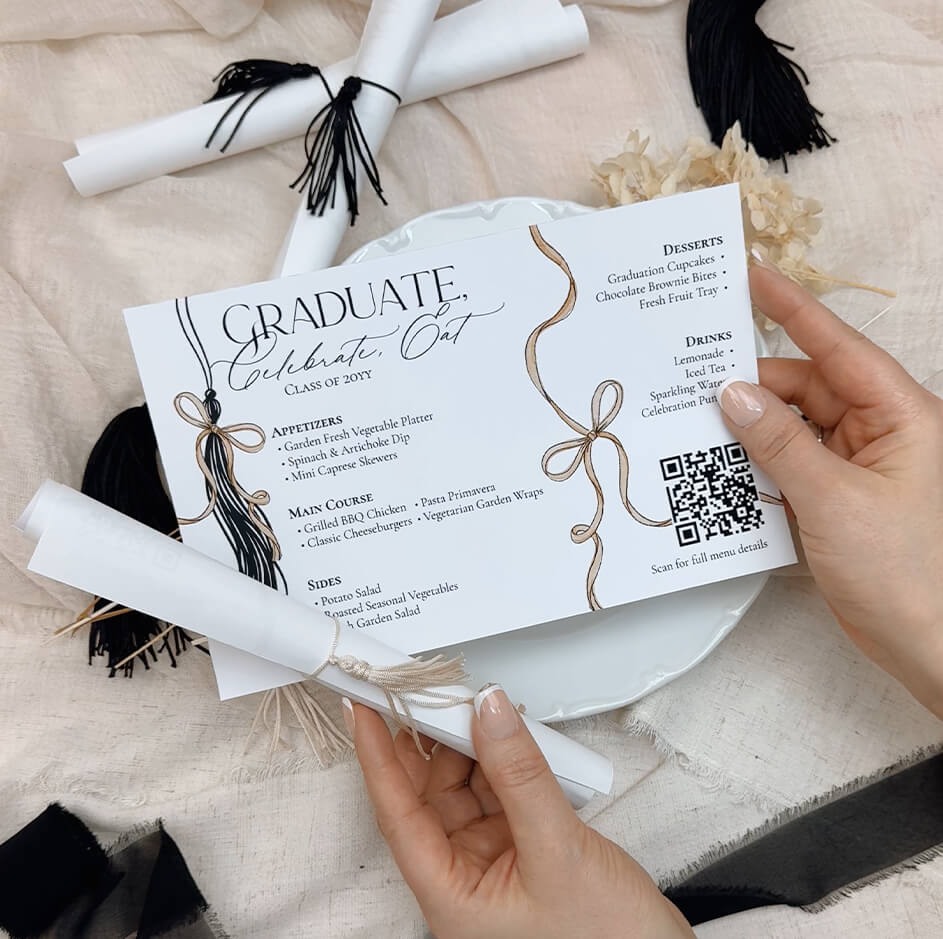
#5 Graduation Menus & Game Sheets as Mini Diplomas
A creative way to elevate your graduation party stationery is by transforming printed menus or game sheets into mini diploma scrolls. This simple DIY adds a polished, on-theme touch while still being functional for your guests.
Print your menus or game sheets, roll each piece into a scroll, and secure with a small tassel, ribbon, or twine in your party or school colors for a cohesive look.
Place rolled menus on each guest’s plate, or display rolled game sheets upright in a basket or tray for guests to grab. Adds both style and interaction to your celebration while enhancing your overall presentation.

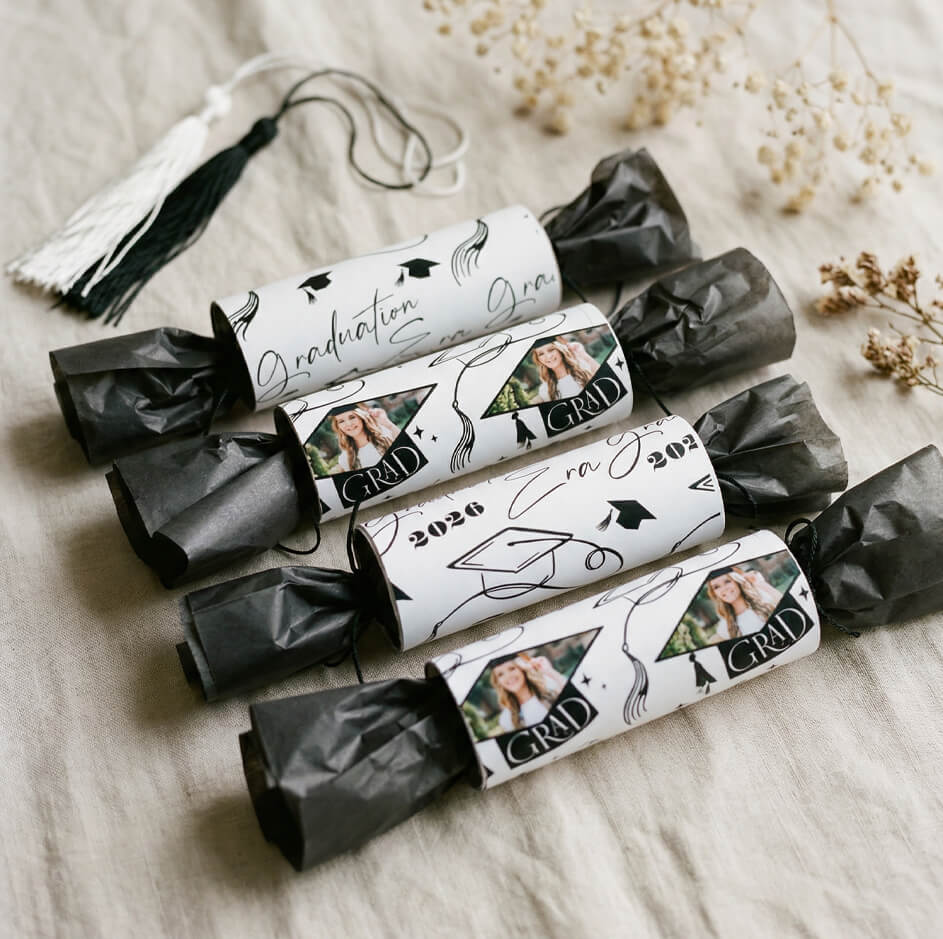
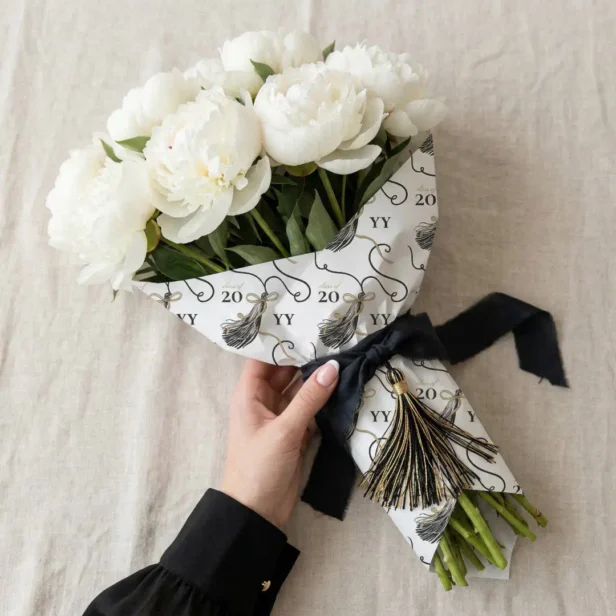
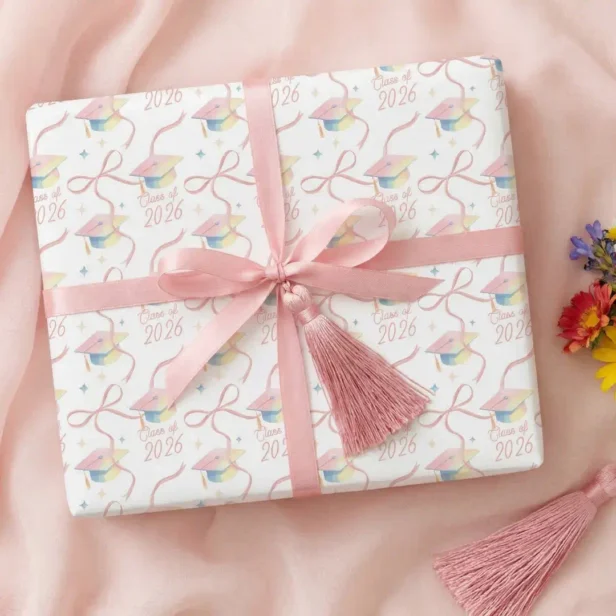
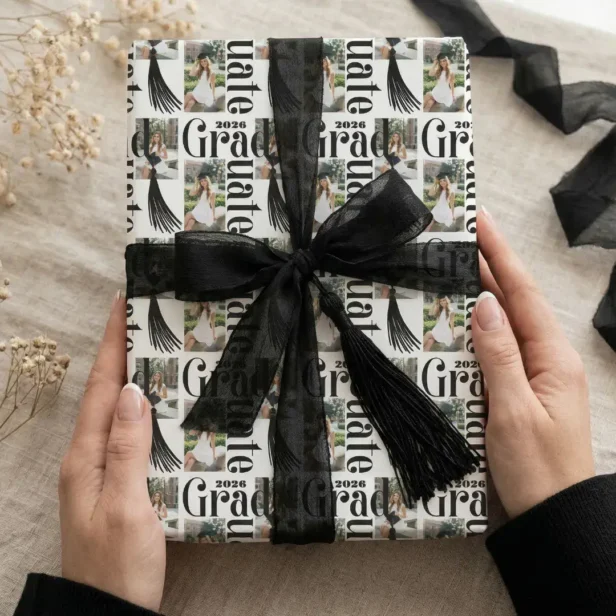
#6 Creative Graduation Wrapping Paper Ideas:
Graduation DIY Inspiration Wrapping Paper Ideas
Use our Zazzle-printed wrapping paper to elevate grad celebrations. Add a fun, personalized, and festive touch to your party favors, gift packaging, and overall party décor.
Cracker-Style Party Favors
One fun idea is to create cracker-style party favors using our graduation-themed wrapping paper. Begin by wrapping your treats or small gifts in tissue paper and placing them inside a paper roll or cardboard tube. Wrap the tube with the Zazzle-printed paper, then secure the ends with ribbon, twine, or string bows. Creative way to present treats but also double as decorative accents, making your table settings or party displays extra special.
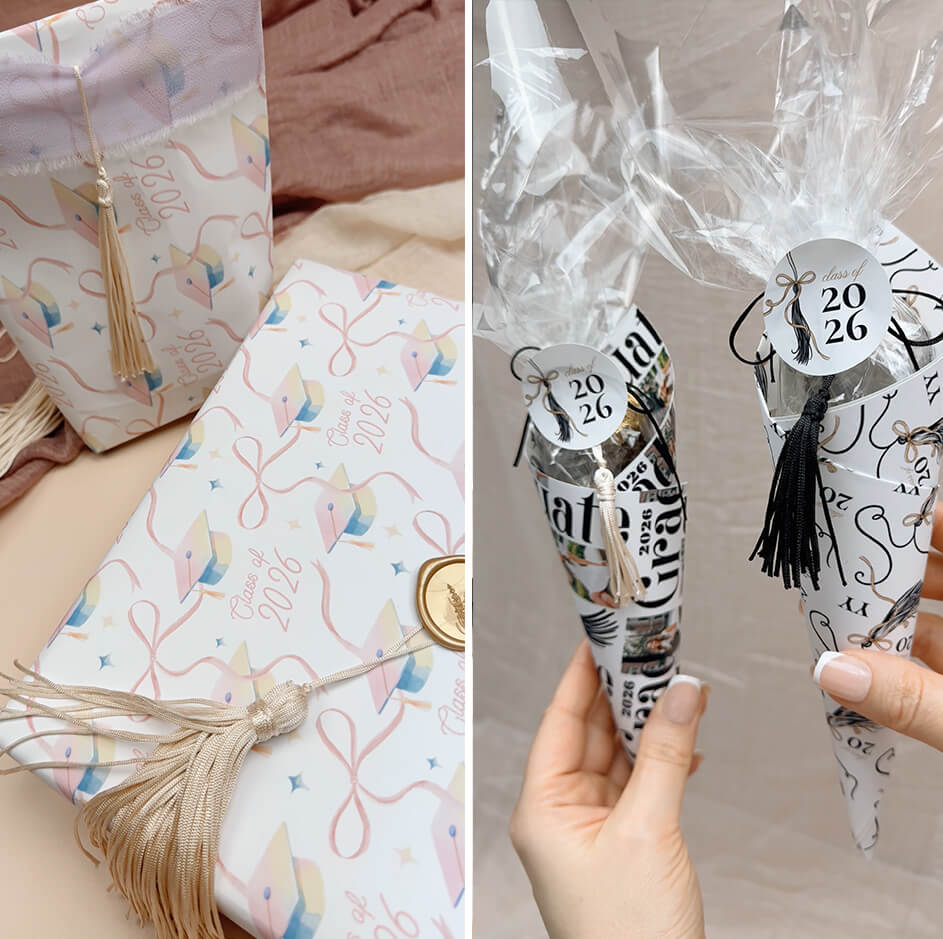
DIY Favor Bags
Another option is to turn the wrapping paper into DIY favor bags for your guests. Simply fold and shape the paper into small bags, secure with tape or staples, and fill them with treats, goodies, or keepsakes. You can add small tassels, bows, or custom labels to make each bag unique. These bags are versatile, allowing you to coordinate colors and patterns with the rest of your décor while giving guests a fun takeaway from your celebration.
Rolled Paper Cones
Rolled paper cones are a creative way to hold candy, snacks, or small party favors. Start by rolling a sheet of Zazzle-printed wrapping paper into a cone shape and securing it with tape. Fill the cone with your chosen items and display them in a basket or on a table for guests to grab. These cones can also be tied with ribbon or twine and sealed with a sticker for added charm, and make a decorative statement while being functional.


LISA & MELANIE | DESIGNERS, ILLUSTRATORS & CO-OWNERS
Thank you so much for reading our blog. Please check back to see more delightful content like this. And as always, remember to sprinkle love and sweetness into every little moment. Note if you buy through one of our affiliate links above or on our website, it won’t cost you a penny more, but we get a small commission to help keep our website and blog running. Thank you for supporting our small Zazzle shop! We are an affiliate of Zazzle.